Your Step-by-Step Blueprint to a Flawless Home Charging Setup
One evening, I spent more than an hour waiting at a public charging station that was not working properly. Sitting in my car and watching the battery level slowly drop made me realize I could not keep relying on public chargers. That frustrating experience pushed me to install a home EV charger. Looking back, it was one of the best decisions I made as an electric vehicle owner.
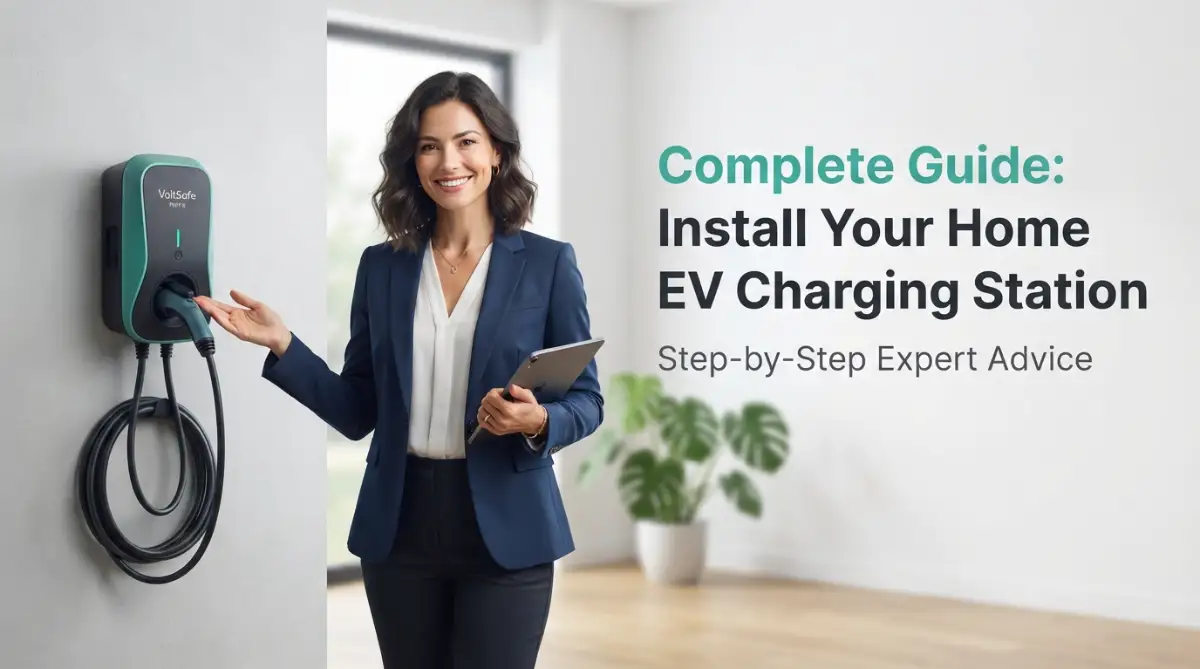
You do not have to rely on public charging forever. Installing a home EV charger is much simpler than many new EV owners expect. This step-by-step guide explains everything you need to know, from choosing the right charger to preparing your home's electrical system safely.
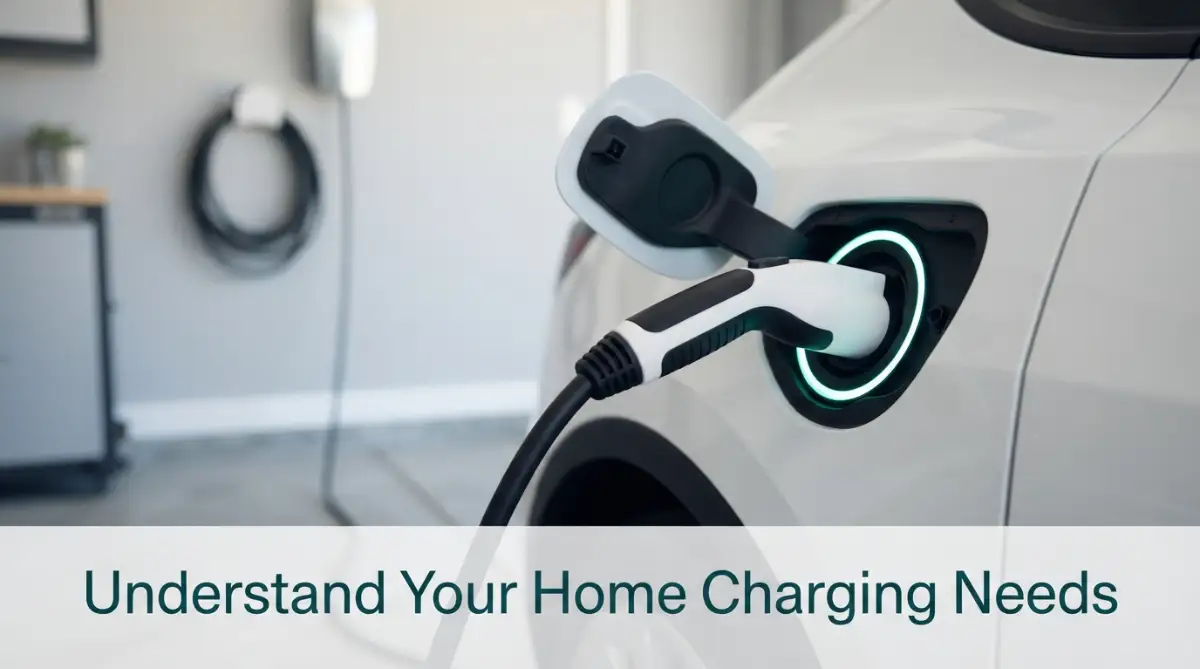
Step 1: Figuring Out Your True Daily Charging Needs
Before you spend a single dollar on equipment, you need to understand how much power you actually need. Not every electric car owner needs a massive, super-fast system in their garage.
We can break home charging down into two main categories: Level 1 and Level 2. Understanding the difference between these two will save you a lot of money and headaches.
Think of electricity like water flowing through a hose. Level 1 is like a small garden hose, while Level 2 is like a powerful fire hose.
The Basics of Level 1 Charging
When you buy your electric car, the manufacturer usually gives you a basic charging cable in the trunk. This is your Level 1 charger.
It plugs into a standard, everyday 120-volt wall outlet. This is the exact same outlet you use to plug in your television or charge your smartphone.
Because it uses a standard plug, you do not need to hire an electrician to use it. You simply plug it into the wall, and the electricity starts flowing into your car.
However, this method is incredibly slow. A Level 1 setup will only give you about three to five miles of driving range per hour of charging.
If you drive a small plug-in hybrid, or if you only drive ten miles a day to the grocery store, this might be perfectly fine for you. But for most fully electric vehicles, leaving the car plugged in overnight will only give you about forty miles of range.
Why Most People Need a Level 2 Upgrade
Now, imagine you have a daily commute of fifty miles, and you also want to run errands after work. If you use a Level 1 plug, your car will never fully recharge by the morning.
This is where Level 2 comes into play. A Level 2 system uses a 240-volt electrical circuit.
This is the heavy-duty power source used for large home appliances. Think about the thick plug used for an electric clothes dryer or an electric kitchen stove.
A Level 2 station can add between twenty to forty miles of driving range in a single hour. If you plug your car in at 10 PM, your battery will be at one hundred percent by the time you wake up at 6 AM.
For most EV owners, this means waking up every morning with enough battery for the entire day's driving. It gives you a full tank of "electric fuel" every single morning, completely eliminating range anxiety.
To make this happen, you will need to buy a specific wall-mounted unit. You will also need to prepare your house for the extra electrical demand.
Step 2: Inspecting Your Home's Electrical Capacity
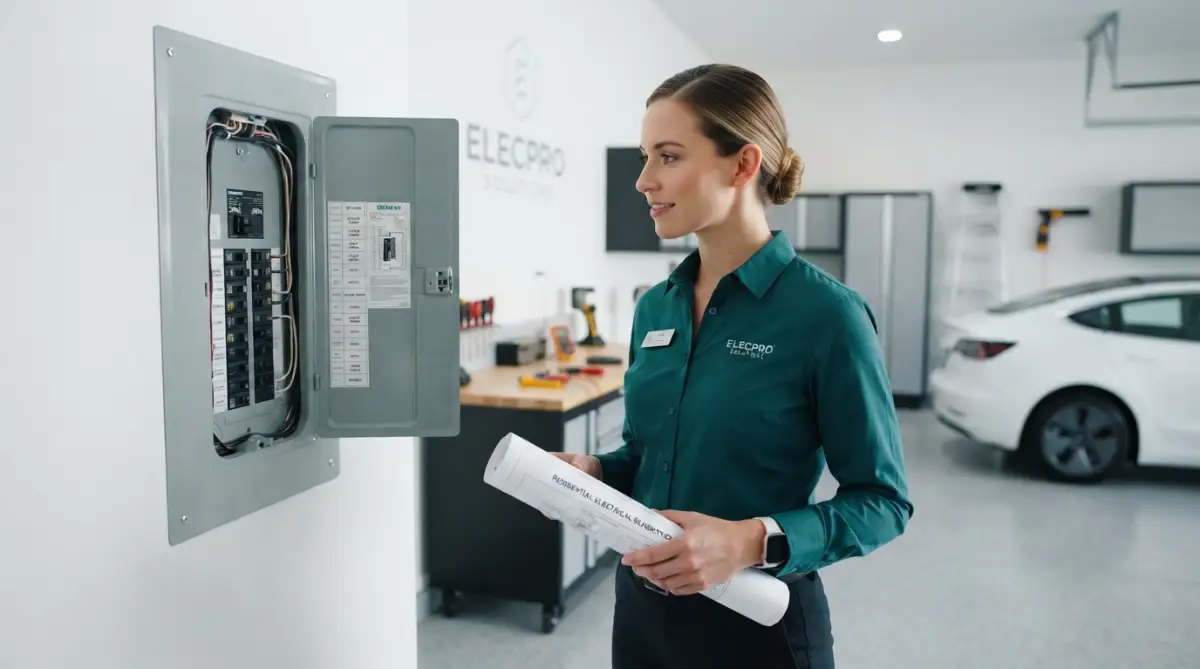
Now that you know you want a Level 2 system, we have to look at the heart of your home. We need to inspect your main electrical panel, which is often called the breaker box.
You cannot simply connect a heavy-duty power cable to your house and expect everything to work perfectly. Your house has a strict limit on how much electricity it can handle at one time.
If you ignore this limit, you will constantly trip your circuit breakers. In the worst-case scenario, overloading your system can cause the wires inside your walls to melt, creating a massive fire hazard.
Understanding Amps Simply
Let us use a real-life analogy to understand how your electrical panel works. Imagine your main electrical panel is a major highway, and the electricity (amps) are the cars driving on it.
Your house has a total number of lanes on this highway. Older homes built fifty years ago might only have a 100-amp highway.
Newer homes usually have a 200-amp highway. Every time you turn on an appliance, you are adding cars to this highway.
Your air conditioner might take up 30 lanes of traffic. Your electric water heater might take up another 20 lanes.
When you add a Level 2 electric car station, you are suddenly adding 40 or 50 more lanes of traffic. If you live in an older home with only 100 amps, adding that car will cause a massive traffic jam.
Performing a Proper Load Calculation
This is why you must perform a load calculation before buying anything. A load calculation is a mathematical test to see how much spare room you have on your electrical highway.
You do not want to guess these numbers. You need to hire a certified, licensed electrician to look at your panel.
The electrician will add up the power demands of your air conditioner, oven, microwave, and lights. If your home uses 160 amps during peak hours, and your panel is rated for 200 amps, you have 40 amps of free space.
This means you can safely install a normal Level 2 system without any major upgrades.
If your electrical panel does not have enough available capacity, a licensed electrician may recommend either upgrading the panel or installing a smart load management system that automatically balances your home's electricity usage while your EV charges.
If you are a visual learner, watch this quick video below where an expert shows exactly what a home electrical panel looks like and how to check your own limits safely. Once you finish watching, keep reading below to find out the absolute best spot to mount your new machine!
Step 3: Choosing the Perfect Location in Your Garage or Driveway
Once you know your home has enough power, it is time to map out the physical installation. Where exactly are you going to mount this heavy piece of equipment?
Many people make the mistake of telling their electrician to just install it right next to the electrical panel. They do this to save a few dollars on copper wiring.
However, placing it near the panel might be the worst spot for your actual car. You must design this setup based on how you actually park every single day.
Analyzing Your Parking Habits
First, look at your car. Where is the charging port located on your specific model?
Some cars have the port on the front bumper. Other cars have it on the rear driver's side, while some have it on the front passenger side.
You need to measure the distance from the wall to that specific port. Most charging cables are between sixteen to twenty-four feet long.
If you like to back your car into the garage, the port will be in a completely different spot than if you drive straight in. You do not want a thick, heavy cable stretching tightly across the hood of your beautiful car.
You also want to avoid a tripping hazard. If you place the box near the door that leads into your kitchen, your family will constantly step over the cable.
Choose a spot on the wall where the cable can hang loosely and connect to the car without blocking foot traffic.
I learned this lesson the hard way after mounting my first charger too close to a doorway. The charging cable became a daily tripping hazard, so take a few extra minutes to choose a location that keeps the cable safely out of the way.
Preparing for Outdoor Installations
Not everyone has an empty garage to use. Many electric vehicle owners have to park in their driveway or on the side of their house.
If you are installing the station outside, you have to fight against nature. You cannot use a cheap, indoor-only unit for an outdoor driveway.
You must look for the NEMA weather rating on the box. NEMA is a standard that tells you how well the machine is protected against dust and water.
You should look for a device rated NEMA 4 or NEMA 4X. These ratings mean the internal electronics are sealed tightly against heavy rain, blowing snow, and freezing temperatures.
If you live in a very hot climate, try to install the unit on a wall that stays in the shade. Direct baking sunlight can cause the internal computer of the station to overheat and slow down the charging speed.
By carefully planning the exact location, you ensure that plugging in your car feels completely natural and effortless every single day.
Taking Your Home Power Setup to the Next Professional Level
You already know the basics of assessing your home electrical panel and choosing the right spot on your wall. Now, we are going to look at some advanced strategies that can save you a significant amount of money.
Many new electric car drivers buy the very first piece of equipment they see on the shelf. This is a huge missed opportunity to make your daily routine even more efficient.
By applying a few smart techniques, you can turn your regular garage into a highly automated energy station. It is entirely possible to cut your monthly electricity bills in half just by knowing when to press the start button.
For example, learning about managing your home energy usage can directly impact how much you pay the utility company each month. Let us look at how you can apply these smart money-saving tactics to your car.
Upgrading to a Wi-Fi Enabled Smart Station
When you shop for a new power unit, you will notice two main types: "dumb" chargers and "smart" chargers. A dumb charger simply pushes electricity into your car the exact moment you plug it in.
A smart unit, however, connects directly to your home internet network. This allows you to control the entire system straight from an application on your smartphone.
Why is this internet connection so incredibly important? It all comes down to something called "Time of Use" electricity rates.
Most power companies charge you a lot more money for electricity during peak evening hours. If you plug your car in at 6 PM right after work, you are paying the absolute highest price for that power.
With a smart application, you can plug the cable into your car at 6 PM, but tell the machine to wait. You can schedule the actual power flow to begin at 2 AM when electricity is dirt cheap.
Over the course of a few months, this simple scheduling trick can save you hundreds of dollars. You literally save money while you are sleeping comfortably in your bed.
Hunting Down Local Rebates and Free Money
Here is an amazing secret that many hardware stores will never tell you about. Your local utility company actually wants you to install a smart charging system at your house.
Because smart systems help balance the local power grid, many electric companies offer massive cash rebates. In some cities, the power company will write you a check that covers the entire cost of the hardware.
Before you click the buy button online, pick up your phone and call your local electricity provider. Ask them directly if they have any active rebate programs for residential electric vehicle equipment.
You should also look into federal and state government programs. Taking the time to research qualifying for electric vehicle tax incentives can put a large chunk of your hard-earned money right back into your pocket during tax season.
Sometimes, getting this free money simply requires you to fill out a one-page form and show your store receipt. It is a very simple step that you absolutely should not skip.
Future-Proofing Your Garage for Your Next Car
When you hire a professional to run new electrical wires into your garage, you are making a long-term investment. You should think about what your life will look like five or ten years from now.
Right now, you might only own one small electric sedan that requires a standard amount of power. But what happens if your spouse decides to buy a massive electric pickup truck next year?
If you install weak, thin electrical wires today, you will have to tear open your walls and do the job all over again. I always recommend asking your electrician to install heavy-duty wiring that can handle a much larger load in the future.
Even if your current box only pushes 40 amps of power, ask the worker to install wires thick enough to handle 60 amps. This way, if you ever upgrade to a faster machine, the heavy lifting inside your walls is already finished.
If you live in an older house, having an electrician check your panel early is just as important as knowing the major warning signs to spot in a home inspection before buying a property. Being prepared always saves you from expensive surprises down the road.
Five Dangerous Installation Mistakes That Can Cost You Thousands
Even with a solid plan, people easily fall into specific traps during the installation phase. Trying to cut corners might seem like a good idea on a Sunday afternoon, but it almost always leads to disaster.
I want to highlight the five most common errors everyday drivers make. By avoiding these specific traps, you will protect your family, your house, and your expensive new vehicle.
Let us walk through these common pitfalls so you can steer completely clear of them.
1. Buying Uncertified, Cheap Hardware Online
We all love finding a great discount on the internet. However, buying an uncertified, unknown brand of heavy-duty electrical equipment is a terrible idea.
Many cheap imported units do not have proper safety sensors built inside them. If a power surge hits your house during a thunderstorm, a cheap box will let that surge travel directly into your car's main computer.
Replacing the battery or computer inside an electric vehicle can cost tens of thousands of dollars. Always look for the UL Listed sticker on the box, which proves the machine has passed strict, independent safety tests.
2. Ignoring the Strength of Your Wi-Fi Signal
We talked earlier about how amazing smart charging stations can be for saving money. But there is one major detail people always forget: the internet router is usually very far away from the garage.
If you mount your expensive smart box on the wall, but it cannot connect to your home internet, it becomes completely useless. You will not be able to use the scheduling features or track your energy usage on your phone.
Before you mount anything, stand in your garage with your smartphone and check your wireless signal bars. If the signal is weak, you will need to buy an inexpensive Wi-Fi extender and plug it into a nearby outlet.
Also, setting up a smart system means connecting a high-powered device to your network. Just as you would learn easy security steps to secure your crypto wallet, you must ensure your home internet uses a strong, unguessable password to keep hackers out.
3. Attempting a Dangerous DIY Electrical Project
Watching a ten-minute online video does not make someone a master electrician. Working with a 240-volt electrical circuit is not like changing a lightbulb or fixing a leaky kitchen pipe.
This level of electricity is incredibly powerful and entirely unforgiving. If you connect the wrong colored wire, you can instantly start an electrical fire inside your walls the moment you turn the power back on.
Always hire a licensed, bonded, and insured professional to handle the heavy copper wiring. The few hundred dollars you pay them is the cost of knowing your family can sleep safely at night.
4. Skipping the Local City Building Permits
Because they want to save time, many homeowners simply skip calling the city to get a building permit. They hire a friend to do the wiring quietly over the weekend.
This is a massive mistake that can ruin you financially. If your house ever catches fire because of an unpermitted electrical job, your homeowner's insurance company will completely refuse to pay you a single penny.
Getting a local permit means a city inspector will visit your house to double-check the worker's job. This extra set of professional eyes guarantees everything is up to the highest safety code.
5. Forgetting to Budget for Hidden Installation Upgrades
When planning this project, people usually only look at the price tag of the wall unit itself. They often forget that the actual labor and heavy copper wires cost real money.
If your electrical panel is on the opposite side of the house from your garage, the worker has to run fifty feet of thick, expensive copper wire through your attic. This labor alone can easily double the total cost of your project.
Upgrading an old electrical panel can sometimes cost a few thousand dollars by itself. If you are planning other house renovations, managing these unexpected expenses is just as essential as figuring out how to lower your debt-to-income ratio before a mortgage application.
Always ask your local contractor for a detailed, written estimate before they start drilling any holes.
Enjoying Your New Life With a Fully Charged Battery Every Morning
We have covered a massive amount of ground today, but you are now fully armed with the right knowledge. You understand the difference between slow and fast plugs, and you know how to protect your home's electrical highway.
You no longer have to feel intimidated by confusing engineering terms or unhelpful online forums. You are ready to take full control of your daily driving experience.
Think about how much your daily routine is about to improve. You will never again have to sit in a dark, freezing parking lot waiting for a public machine to slowly fill your battery.
Instead, you will simply pull into your own driveway, spend exactly five seconds plugging in a cable, and walk inside to enjoy dinner with your family.
Every single morning, you will step into a warm car that has a completely full tank of electric fuel. Your dreaded range anxiety will completely disappear, replaced by total peace of mind.
Start today by walking out to your garage and measuring the distance from your parking spot to the nearest wall. Call a local, trusted electrician this week just to get a simple, friendly consultation on your panel.
The freedom of powering your own journey from the comfort of your house is just a few simple steps away. Take that first step today, and enjoy the amazing, smooth ride ahead!
Looking back, I honestly wish I had stopped overthinking and made this upgrade the very first week I brought my car home. Waking up to a fully charged battery every single morning is a feeling of total freedom you absolutely deserve to experience. Grab a tape measure, check your garage today, and get ready to actually enjoy driving again!
Key Takeaways
Before you install a home EV charger, keep these practical points in mind. These quick tips summarize the most important lessons from this guide and can help you make safer, smarter, and more cost-effective decisions.
01. Choose the Right Charger for Your EV
Make sure the charger is compatible with your electric vehicle and provides the charging speed that fits your daily driving needs.
02. Check Your Home's Electrical Capacity
Have your electrical panel inspected to ensure it can safely support a dedicated EV charging circuit before installation.
03. Pick a Convenient Installation Location
Install the charger where it is easy to access, protected from the weather when possible, and close enough to your regular parking spot.
04. Hire a Qualified Electrician
Professional installation improves safety, helps meet local electrical codes, and reduces the risk of future charging problems.
05. Maintain Your Charging Equipment
Inspect cables, connectors, and the charging unit regularly to keep your home EV charging system safe, reliable, and efficient.
Still Have Questions About Installing a Home EV Charger?
Installing a home EV charger may seem complicated at first, but the process is much easier when you understand the basics. Here are answers to some of the most common questions homeowners and new EV owners ask.
Frequently Asked Questions (FAQs)
1. Can I install an EV charger at home by myself?
Some basic chargers may be suitable for DIY installation if local regulations allow it. However, most Level 2 chargers should be installed by a licensed electrician to ensure safety and compliance with electrical codes.
2. What type of home EV charger is best?
For most drivers, a Level 2 home charger offers the best balance of charging speed, convenience, and long-term value.
3. How long does it take to install a home EV charger?
A standard installation usually takes a few hours, although additional electrical upgrades may increase the installation time.
4. Do I need to upgrade my electrical panel?
Not always. If your current electrical panel has enough capacity, an upgrade may not be necessary. A qualified electrician can determine whether your system is suitable.
5. Where should I install my EV charger?
Install the charger in a location that is close to where you normally park your vehicle and provides easy access to the charging port.
6. Is it safe to charge an electric vehicle every night?
Yes. Modern electric vehicles and certified home chargers are designed for regular overnight charging when used according to the manufacturer's recommendations.
7. How much does it cost to install a home EV charger?
The total cost depends on the charger you choose, labor costs, and whether your home requires electrical upgrades before installation.
8. Will a home EV charger increase my home's value?
In many areas, a professionally installed EV charger can make a home more attractive to buyers who own or plan to own an electric vehicle.
Disclaimer: The information provided in this article is for educational and informational purposes only. Electrical work carries severe safety risks, including fire and electrocution. Always consult with a certified, licensed electrician and check your local building codes before attempting any modifications to your home's electrical system. The author and publisher are not responsible for any damages, injuries, or financial losses resulting from the use of this information.